
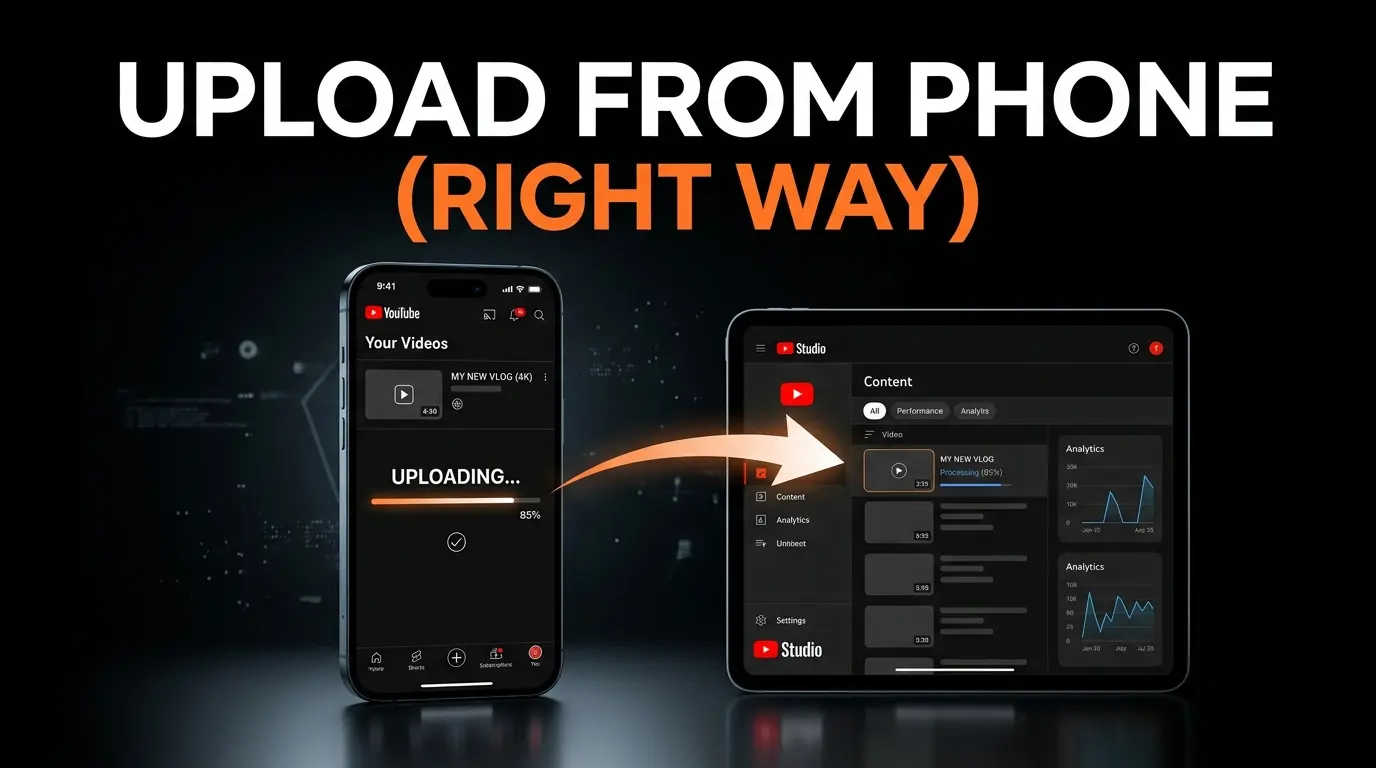
Upload YouTube Videos from Phone: The Right Way Step by Step (2026)
Most beginner creators assume that uploading from a mobile device is a simple one-tap process through the YouTube app. This misconception consistently leads to algorithmically weak videos. Professional mobile uploading requires a dual-app environment — not a single app. You use the YouTube App for the initial upload, and the YouTube Studio App for the precise metadata and visual optimization that determine your video’s success.
This guide gives you the complete step-by-step mobile upload workflow — from preparing your assets before you touch the app, through the critical two-app process, to monitoring performance after launch. We also cover the features you cannot access from your phone and how to work around them.
→ For the complete desktop upload guide with every advanced setting explained: How to Upload Videos to YouTube the Right Way (2026 Guide).
1. Prepare What You Need Before Uploading
Professional mobile uploads demand a specific software infrastructure and a thorough preparation phase. Typing metadata on a phone keyboard during an active upload is slow, error-prone, and leads to SEO-damaging typos that hurt your search visibility.
The Two Essential Apps
You cannot manage a professional YouTube channel from a single mobile app. Install and keep both updated:
- YouTube App (the standard red icon) — Used for content consumption and initiating the upload process.
- YouTube Studio App (available on App Store & Google Play) — Your command center for advanced settings, custom thumbnails, tags, analytics, and monetization tools unavailable in the main app.
Downloading and regularly updating the Studio App is non-negotiable for any creator who relies on their phone fully or partially.
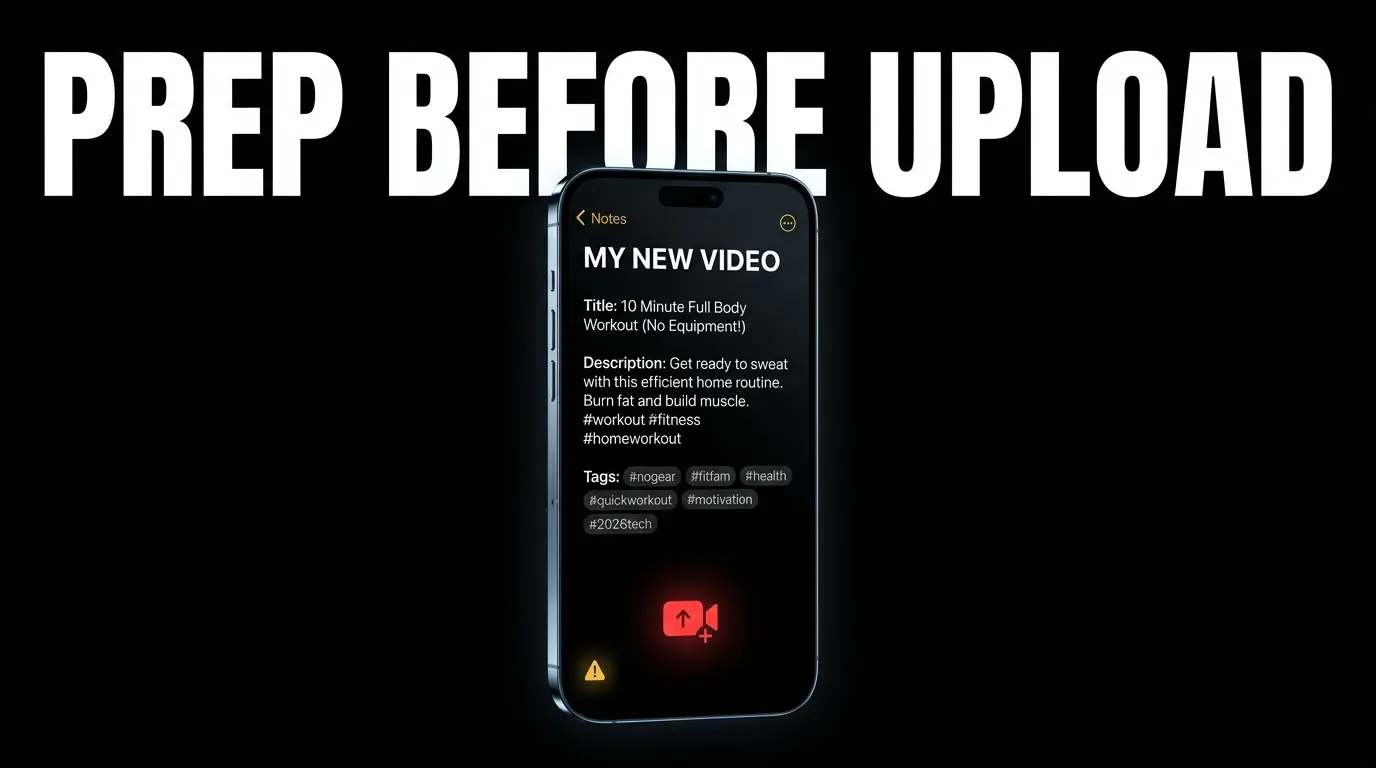
Pre-Write Everything in Your Notes App
Open your phone’s default Notes application (Apple Notes, Google Keep, Samsung Notes) and draft the following elements before you ever open YouTube:
- Your Title: Finalized, under 70 characters, ready to copy-paste.
- Your Complete Description: Write the first two keyword-rich sentences, followed by your standard links (social media, affiliate links, gear lists). If your video has chapters, format the timestamps here (always starting with
0:00). - Your Tags: A comma-separated list of 5-10 precise keyword phrases, ready for instant copy-paste.
Why do this? Bouncing between browser tabs on a phone to copy affiliate links while the YouTube app is actively uploading often causes the app to refresh, crash, or suspend the background process — forcing you to restart the entire upload. Having everything in a single Note document allows you to simply “Select All → Copy → Paste” in under 10 seconds.
2. The Upload Phase (Using the YouTube App)
The foundational phase starts in the standard red YouTube App. Follow this precise sequence to ensure the video is processed without errors.
The 6-Step Upload Process
- Open the YouTube App and tap the Create (+) icon in the center of the bottom navigation bar.
- From the popup menu, select “Upload a video” — do not select “Create a Short” if your content is horizontal or exceeds 3 minutes.
- Select your pre-edited video file from your phone’s camera roll or gallery.
- Paste your Title directly from your Notes app.
- Paste your Description directly from your Notes app.
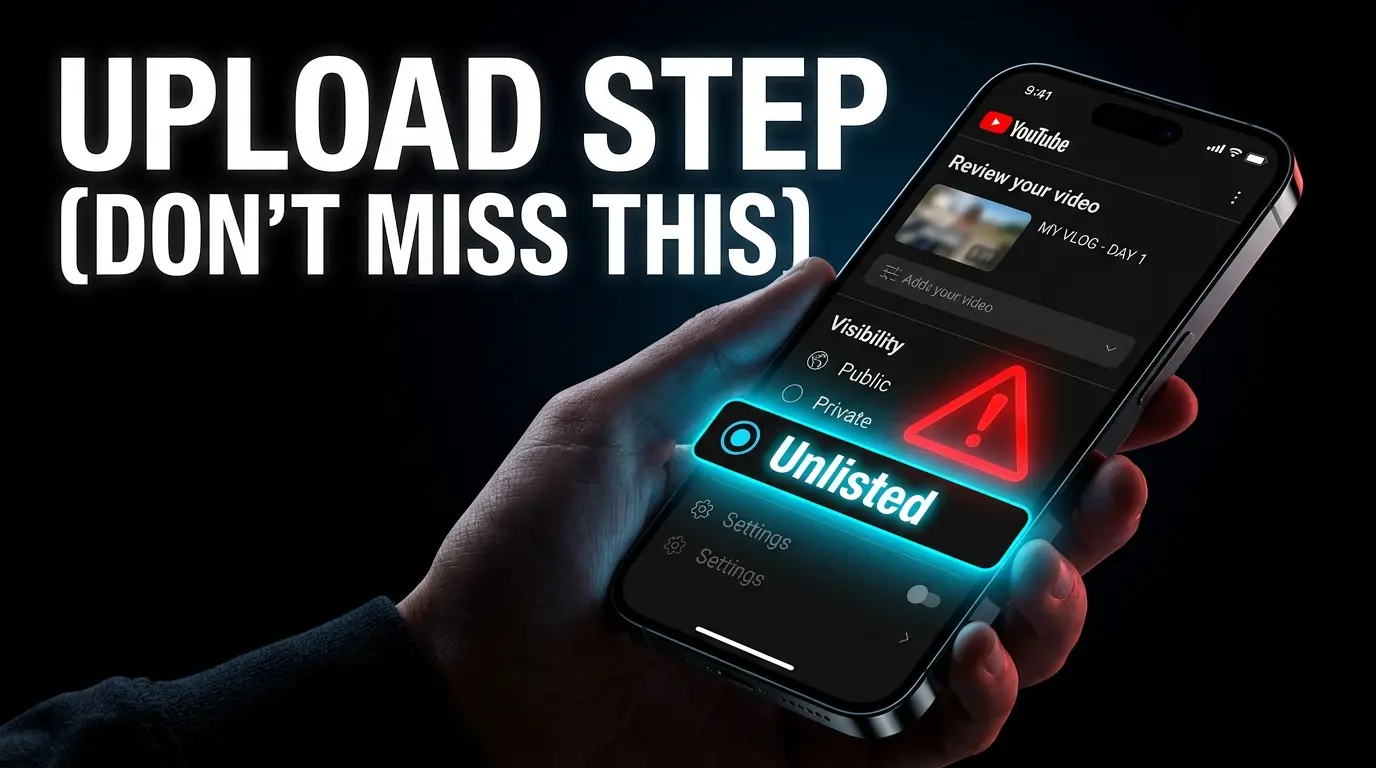
- Set Visibility to Unlisted. This is the single most critical step. Do not set it to Public.
Setting the video to Unlisted gives YouTube’s servers time to process HD/4K resolution, and allows you to complete all advanced settings in the Studio App before any viewer sees your video with missing metadata.
⚠️ Critical Warning: Do not close the YouTube app or disconnect from the internet during the upload process. On many Android devices with aggressive battery optimization, minimizing the app to check messages or social media can suspend the background upload process entirely — forcing you to start over from scratch.
Basic Settings Available in the App
Before tapping the final upload button, confirm these settings:
- Playlist: Tap to assign the video to an existing playlist. Adding it before publishing sends immediate topical context signals to the algorithm, boosting session watch time.
- Audience (Made for Kids): This is a legally binding question under international COPPA regulations. Answer honestly — false answers risk FTC fines and YouTube penalties.
- Paid Promotion: If the video contains a sponsored segment, toggle this on to comply with advertising disclosure laws.
- Visibility: Confirm it’s set to Unlisted (or Schedule if you’ve already completed all settings).
Once these are confirmed, tap Upload. Now switch to your second app.
3. Completing the Setup (Using the YouTube Studio App)
Once the upload is complete as an Unlisted video, the main YouTube app’s job is done. The real optimization work begins in the YouTube Studio App — because the standard app lacks the advanced SEO tools, visual management, and granular controls that determine algorithmic success.
Why You Need the Second App Right Now
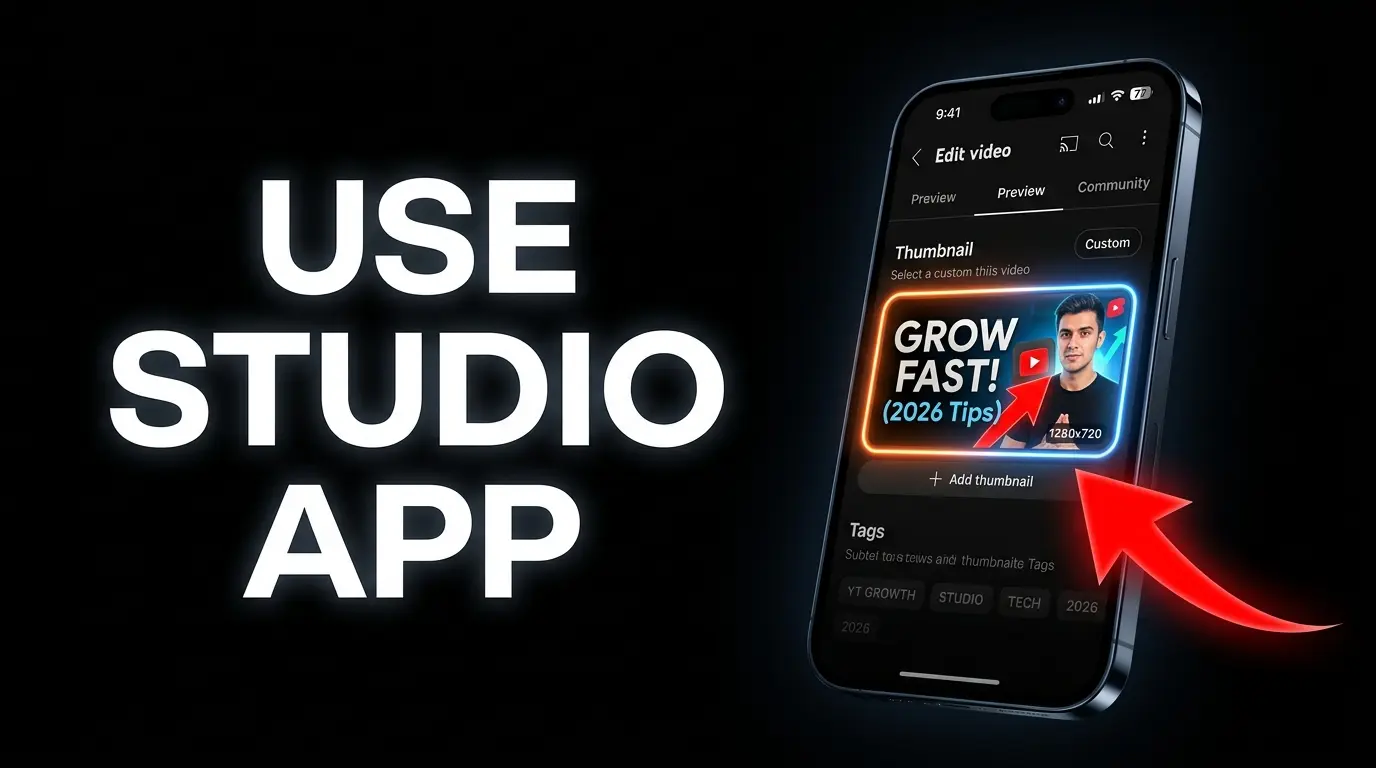
The standard YouTube app does not allow you to add a custom thumbnail for standard horizontal videos. If you stop here, YouTube will automatically select a random, often blurry, frame from the middle of your video as the thumbnail. This will completely destroy your Click-Through Rate (CTR).
Adding Your Custom Thumbnail
Your custom thumbnail must be pre-designed (16:9 ratio, under 2MB, saved as JPG or PNG) and saved in your phone’s photo gallery before you begin.
- Open the YouTube Studio App.
- Tap the Content tab at the bottom to view your videos.
- Tap on the video you just uploaded (it may still display a processing icon).
- Tap the Pencil Icon (Edit) at the top of the screen.
- Tap the Custom Thumbnail button overlaid on the video preview.
- Select your designed thumbnail from your phone’s gallery and hit Save.
Adding Tags
While still in the edit screen:
- Scroll down to More Options (which contains Tags, Category, and Comments settings).
- Tap Tags and paste your comma-separated list from your Notes app.
- Ensure each phrase is registered as a separate tag (commas serve as delimiters).
- Aim for 5-10 precise keyword phrases that describe what the video covers and what your audience would type into the search bar.
YouTube Shopping: Product Tags
In 2026, with the major expansion of YouTube’s affiliate marketing program, the Studio App now allows eligible channels (500+ subscribers) to tag products mentioned in their videos. If you reference a specific product, search for it through the Studio interface and add it as a Product Tag — creating a direct, additional revenue stream managed entirely from your phone.
4. Scheduling and the Best Time to Publish
Controlling the exact moment your video goes live is a pivotal strategy for maximizing initial reach.
How to Schedule from Your Phone
Still inside the YouTube Studio App’s editing screen:
- Tap on the Visibility setting (currently showing “Unlisted”).
- Select Schedule.
- Choose your desired date and exact time.
- Tap Save in the top right corner.
- Set a personal reminder on your phone’s clock app to align with the scheduled time — you need to be present to reply to comments in the first hour, which sends powerful positive signals to the recommendation algorithm.
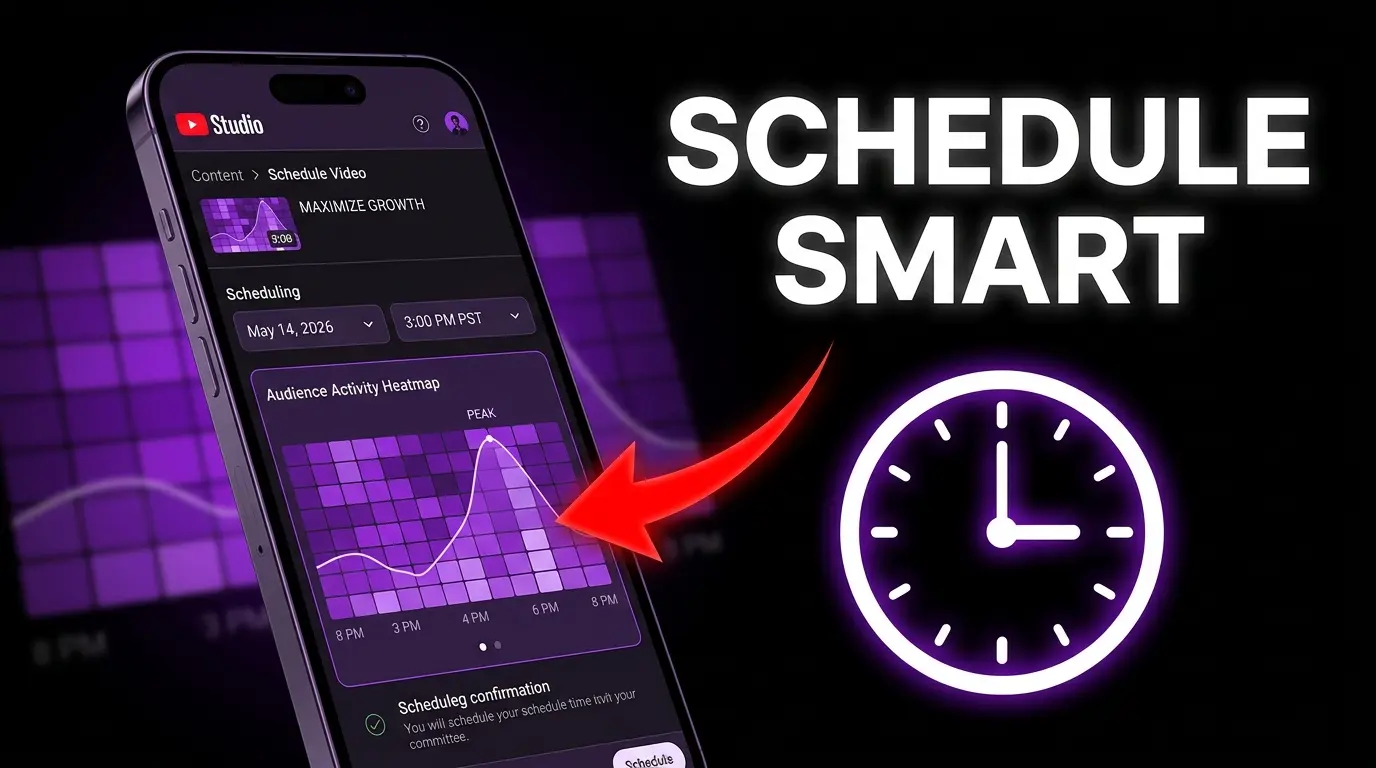
Finding the Best Time to Publish via Mobile
You don’t need a desktop to figure out your audience’s peak activity hours:
- In the Studio App, tap the Analytics tab at the bottom.
- Swipe to the Audience section.
- Find the Heat Map titled “When your viewers are on YouTube.”
- The darker the purple blocks, the more of your audience is currently online.
The Strategy: YouTube needs time to index and distribute your video. Schedule publication 2-3 hours before your audience’s peak begins (the darkest blocks). This proactive timing allows the algorithm to position your video in the Suggested feed and Homepage, ready to collide with the maximum traffic surge the moment it arrives.
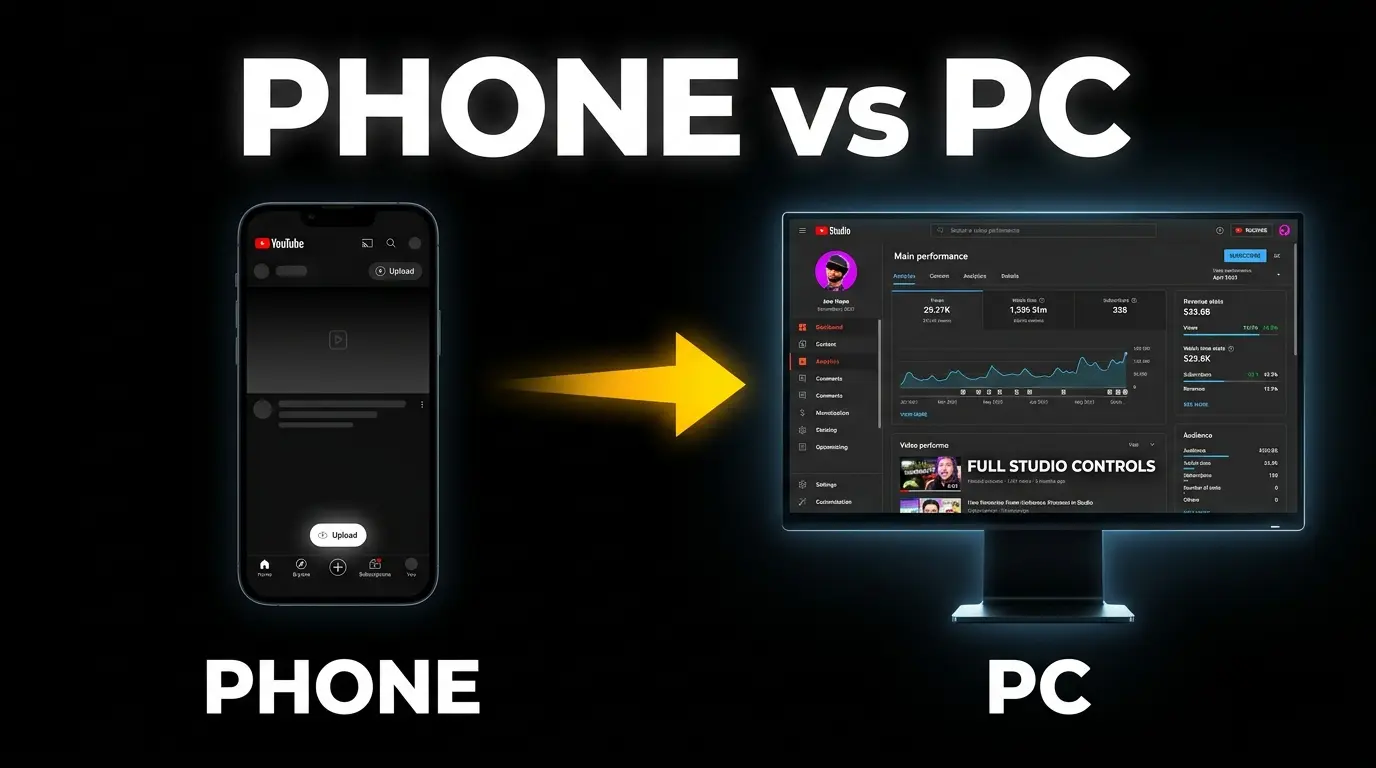
5. What You Cannot Do from Your Phone
Despite impressive improvements in mobile apps, a significant technical gap remains between phone and desktop capabilities. Understanding these limitations is essential for deciding your workflow.
| Feature | Desktop Studio | Mobile Studio Apps |
|---|---|---|
| End Screens | ✅ Full control with templates and precise customization | ❌ Completely unavailable |
| Info Cards | ✅ Supports links, videos, and channel references | ❌ Unavailable |
| Video Chapters | ✅ Easy formatting in description | ⚠️ Possible but frustrating to type on phone keyboard |
| Test & Compare | ✅ A/B test 3 thumbnails | ❌ Not available for initial setup via apps |
| Monetization | ✅ Full control including mid-roll ad placement | ⚠️ Very limited (basic on/off toggle only) |
The Hybrid Solution
Based on these limitations, the optimal workflow combines both devices:
- Upload the heavy video file from your phone while connected to Wi-Fi — set it to Unlisted.
- Complete basic metadata (title, description, thumbnail, tags) in the Studio App.
- Later, sit at your computer and open YouTube Studio in your browser to add End Screens, run thumbnail A/B tests via Test & Compare, adjust mid-roll ad placements, and finalize the schedule.
Alternative: If a computer isn’t available, open studio.youtube.com in your phone’s mobile browser and enable “Desktop Site” mode to access features unavailable in the native app. It’s not as comfortable, but it works.
6. Monitoring Performance After Publishing
The YouTube Studio App provides a real-time measurement dashboard to monitor your video’s success from anywhere. In the first 24 hours after launch, track these three critical metrics:
3 Metrics to Watch Immediately
- Rankings by Views (1 of 10): This indicator compares your new video’s performance against your last 10 uploads in the same timeframe. If it’s ranked 9 or 10, the topic may be weak or the packaging is failing.
- Average View Duration: If this drops sharply compared to your channel average, there’s a problem with content quality, pacing, or a misleading title/thumbnail that sets wrong expectations.
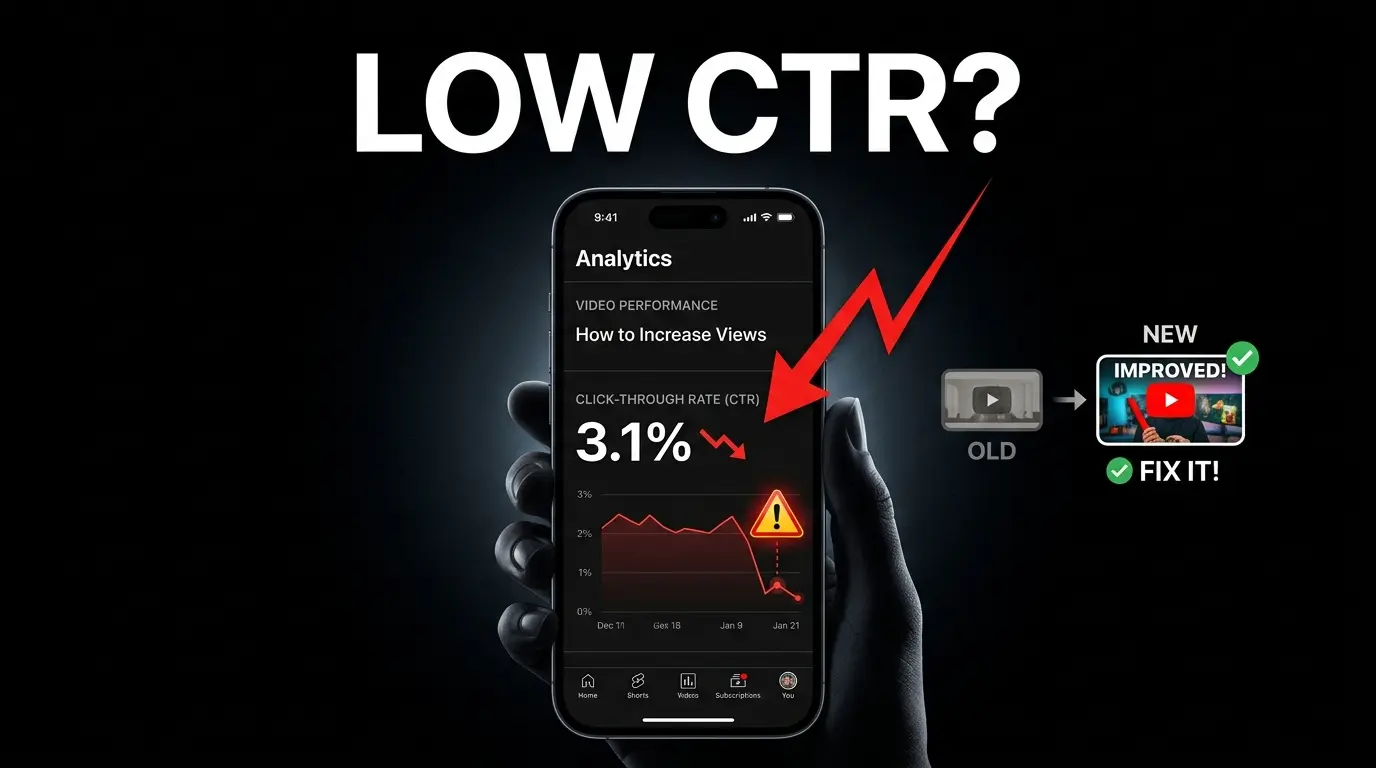
- Click-Through Rate (CTR): One of the most important signals for the recommendation algorithm. If it registers below 2%, the external packaging (title + thumbnail combination) is failing to convert impressions into clicks and requires immediate intervention.
How to Correct Course Without Destroying the Video
If CTR is dangerously low:
- Change the Title first. Wait 48 hours to observe how the algorithm responds to the new data.
- If still underperforming, replace the Thumbnail with a completely new design from your phone’s gallery.
- Never change both the title and the thumbnail simultaneously. Without the desktop A/B testing tool, you won’t know which variable caused the improvement or decline — making future optimization decisions impossible.
Conclusion
Professional mobile uploading requires understanding that a single app is never enough. The proven formula is:
Two Apps + Pre-written metadata + Unlisted first = A correctly uploaded video from your phone.
Use the YouTube App strictly as a file courier to move the heavy video to Google’s servers. Use the YouTube Studio App for the deep metadata control that actually determines your algorithmic fate. Hold the video in Unlisted status until every setting is perfect, then schedule it strategically based on your audience’s Heat Map data.
Continue building your channel:
![Your First 10 YouTube Videos: What to Post [2026]](/images/growth/first-youtube-videos/first-videos-plan.webp)
![How Long Does It Take to Get 1000 YouTube Subscribers? [2026 Data]](/images/growth/how-long-to-get-1000-subscribers/1000-subscribers.webp)